2048 game port for the Raspberry Pi written in Assembly

2040atepi

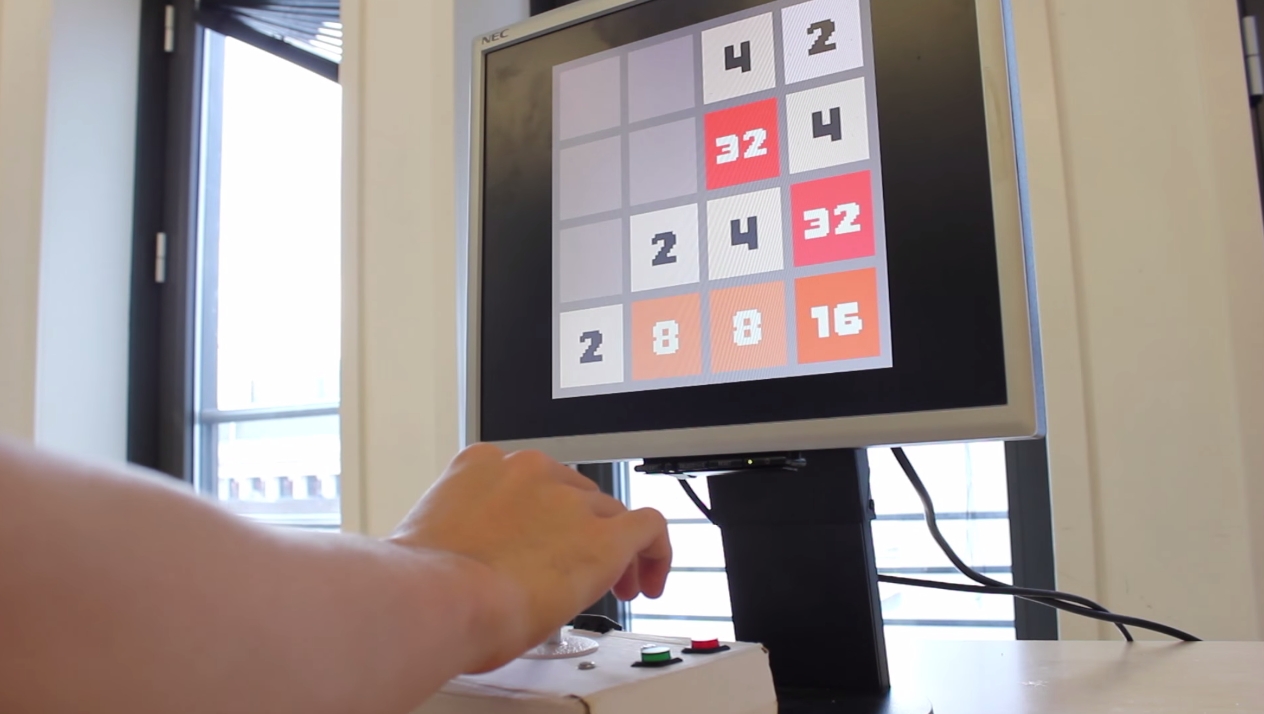
Four students from Imperial College London have ported the game 2048 across to the Pi using Assembly language. Franklin Schrans, Jacek Burys, Saurav Mitra, Srikrishna Subrahmanyam teamed up for their first year final ARM project, coded the game and then added a GPIO-interfaced joystick to control it. There’s even an ‘artificial intelligence’ mode! They’ve released all the code on Github and set-up a website for it here. Great job guys! Their project video is shown below:

Second Peterborough Coding Evening – 22nd September

codingevening

Following on from the success of the first Coding Evening at the beginning of this month, Hannah Mills is organising another one on Tuesday 22nd September at The Brewery Tap in Peterborough town centre. Coding Evenings are a great opportunity for teachers to network with other teachers and technologists about the best ways to teach technology in schools.

You can find out more, including how to book free tickets, here.

PatternCraft – build with punchcards in Minecraft on the Raspberry Pi

Gemma May Latham has been looking into ways that Minecraft can be used to explore artistic uses of textiles. With help from David Whale (co-author of the excellent book Adventures in Minecraft) she built a punchcard reader that is powered by an Arduino. The punchcard is fed into a slot in a laser-cut box, the holes are ‘read’ by the Arduino then the data is pushed through to the Raspberry Pi where it is converted into a CSV file and then fed into Minecraft Pi Edition. Lovely project, Gemma! Read more here.

Bare metal game of DOOM on the Raspberry Pi

doom

Four students from Imperial College, London (Bálint Rikker, Csongor Kiss, Sicong Li and Toby Shaw) teamed up for their first year final project. The project aimed to re-write classic shooter DOOM to the Raspberry Pi via 9800 lines of ‘bare metal’ code (i.e. ARM assembly code and no operating system). To control the game, they created a custom controller and hooked it up to the GPIO. You can see the results of the project in the video below.